Levitation photography: keep it simple
Even though I had a clear concept in my mind, and I knew how I wanted the final image to look, it took me one day to create it. That’s because I lost myself thinking of complex solutions when, in fact, there were simpler, faster, and better alternatives. I’ll show you what I learned when I shot this image so you can do the same.
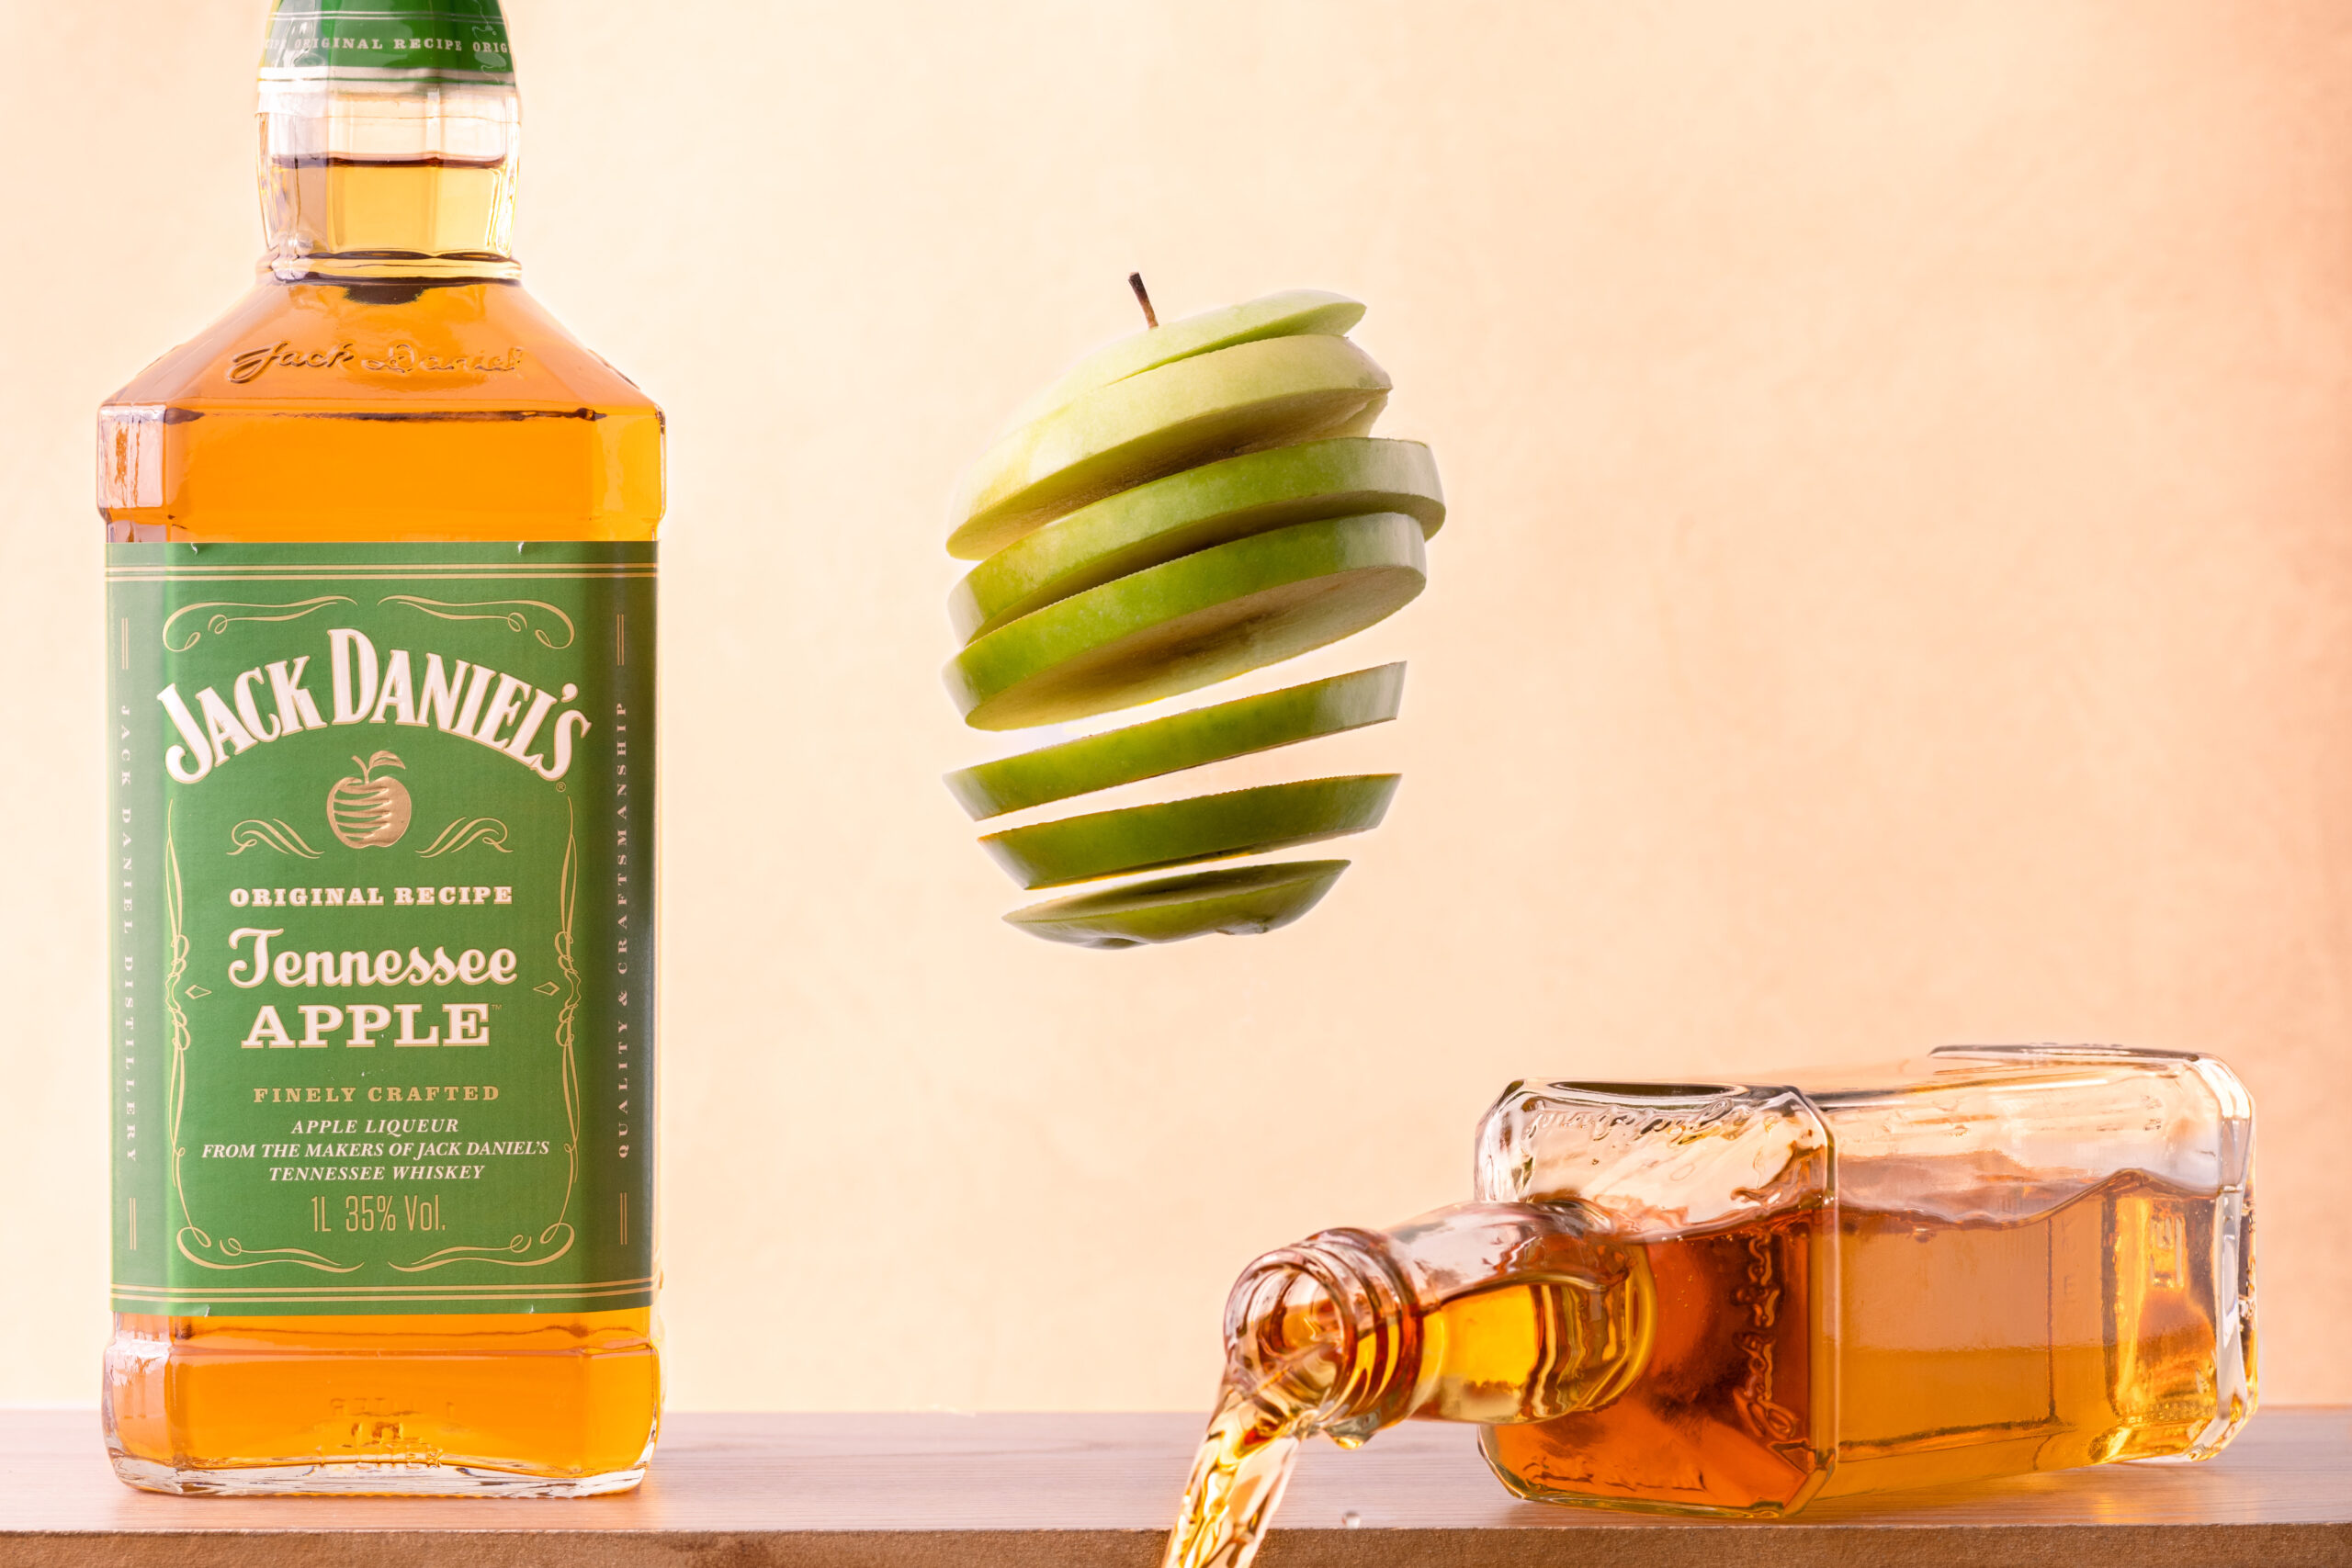
Everything starts with the idea and message you want to communicate. In this case, I wanted to highlight the apple flavor of Jack Daniel’s whisky in a fun and dynamic way, creating a vibrant image with summer vibes. This well-defined concept led to my lighting and warm color palete choices.
Setting the scene:
With a clear idea in my mind, I set the first part of the scene using only largely available items that could be easily substituted: a shelf propped on food containers on a wooden table.
Assembling the other part of the scene was challenging since it required an extra dose of planning. To make things easier, it was essential to consider the two key aspects of the desired final image:
- Floating apple (levitation).
- Pouring whisky in one floating jigger (action and levitation).
It was relatively simple to assemble the floating sliced apple: since I’m not very skilled with knives, I preferred to use a mandolin to make sure all slices had the same width. Afterwards, I used a metal skewer to hold the slices together and hung it on a backdrop support. In the absence of the backdrop support or any other object to hold the skewer I could have used my hand and fired the camera with either a remote or the timer.
Challenge:
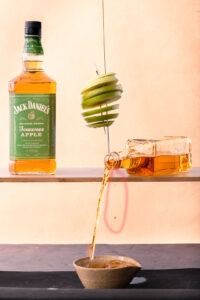
The great challenge was shooting the whisky flowing from the bottle into the jigger. I spent hours and hours trying to create the ideal setup, lifting the jigger and keeping it steady close to the bottle. After it proved to be impracticable with the tools I had, I tried something more reasonable and, looking back, obvious in a certain way. The solution was to prop the jigger against a bowl in the desired angle and move it upwards in post-production. The jigger as well as the bowl were placed on a rubber mouse pad to prevent them from slipping on the table.
Check the setup below:
Setup Jack Daniels Apple Levitation Photo
Breaking the shooting session in stages:
An image such as the one in the example is always a composite of various images, each one highlighting an important element. It’s up to the photographer to think about the more efficient way to shoot the subject to combine the smallest possible number of images.
The shoot can be divided into a few stages, each one with a purpose:
- Photo of the backdrop without any subjects, which is helpful in post-production. I kept the big standing bottle and the apple because they are fixed elements across all photos.
- Whisky freely flowing into a bowl: since the bowl is bigger than the jigger, it allowed me to capture a larger volume of the beverage flowing as well as the movement of the liquid inside the bottle.
- Whisky flowing into the jigger: the goal was to capture the beverage moving inside the jigger. Therefore, the flow could be less intense (less whisky in the bottle which is also easier to control).
Creating the final image:
I selected five photos to create the final image, as seen below. That was only possible because the photos were taken with purpose, following the required stages to accomplish the wanted result. If it wasn’t for the planning, I would probably have shot a lot more.
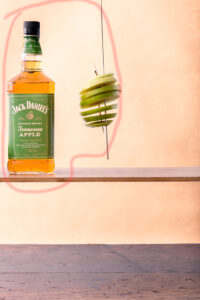
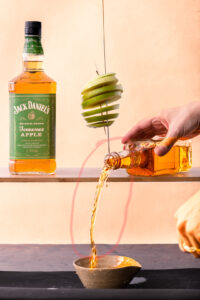
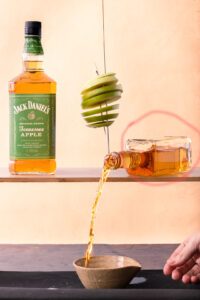
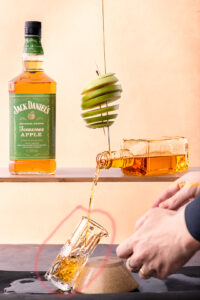
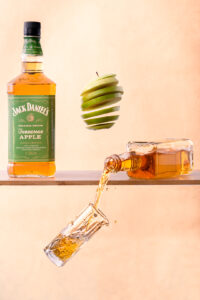
The editing was almost totally done in Lightroom, which now features powerful and easy to use masking tools. The final pos-production (cleaning, retouching and compositing) was done in Photoshop.
Enjoy your photos!
Would you like to share your thoughts?