Water splash – step by step
I like to photograph liquids spilling out a glass, a vase or a jar. That’s something fascinating about capturing the exact moment the droplets are up in the air and the liquid surface is agitated. Many photographers don’t like it, simply because that’s a massive cleanup involved between photos and after the shooting session. True. I don’t judge.
Do you want to learn how to do it? I’ll show you the steps in details so you can take incredible water splash photos too.
First of all, choose what you will photograph: fruit, vegetable, an ice cube? Experiment with a few, paying attention to shapes, colors and sizes and note the effects on each of them reaching the water.
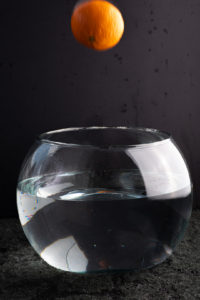
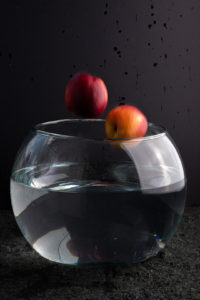
Splash photo is always a combination of technique, luck and patience. Ideally, it’s done with:
- One aquarium (or vase, glass, etc) half filled with water, where you will the fruit (or another object);
- Tripod: to avoid camera vibration and allow you to composite many images in post-production, if needed;
- 70 to 200 mm lens: the focal length you choose determines the distance between the camera and your subject. This is particularly important because depending on what you’re shooting, the droplets of water can spill over your gear. Personally, I like to use my 85mm or 105mm;
- 2 flashes or strobes: for an action shot such as this one, using strobes is essential to freeze the water movement and obtain a sharp image. Besides freezing the image (strobe speed is greater than camera speed), it allows you to use lower ISO (better resolution) and smaller aperture (larger area in focus, deeper depth of field). Here, I used one strobe with soft box in each side
- Timer and multiple shots: you need many attempts until you capture the exact moment the fruit reaches the water, and it spills out, leaving a trace of droplets. If you’re shooting by yourself, like I was, use the camera timer so you have time to position yourself next to the scene and to drop the fruit onto the water. Or use a remote with continuous shooting mode. If you do have an assistant, you will not need the timer. However, you’ll still need to shoot on continuous mode.
Is it possible to shoot under natural light instead? In order for you to practice, yes. However, the results will probably be way different. Even under blazing sun, you won’t be able to freeze the movement of the water precisely and will get blurred and out of focus.
Setting the scene:
- Choose the place you’ll be shooting at, keeping in mind it will get wet;
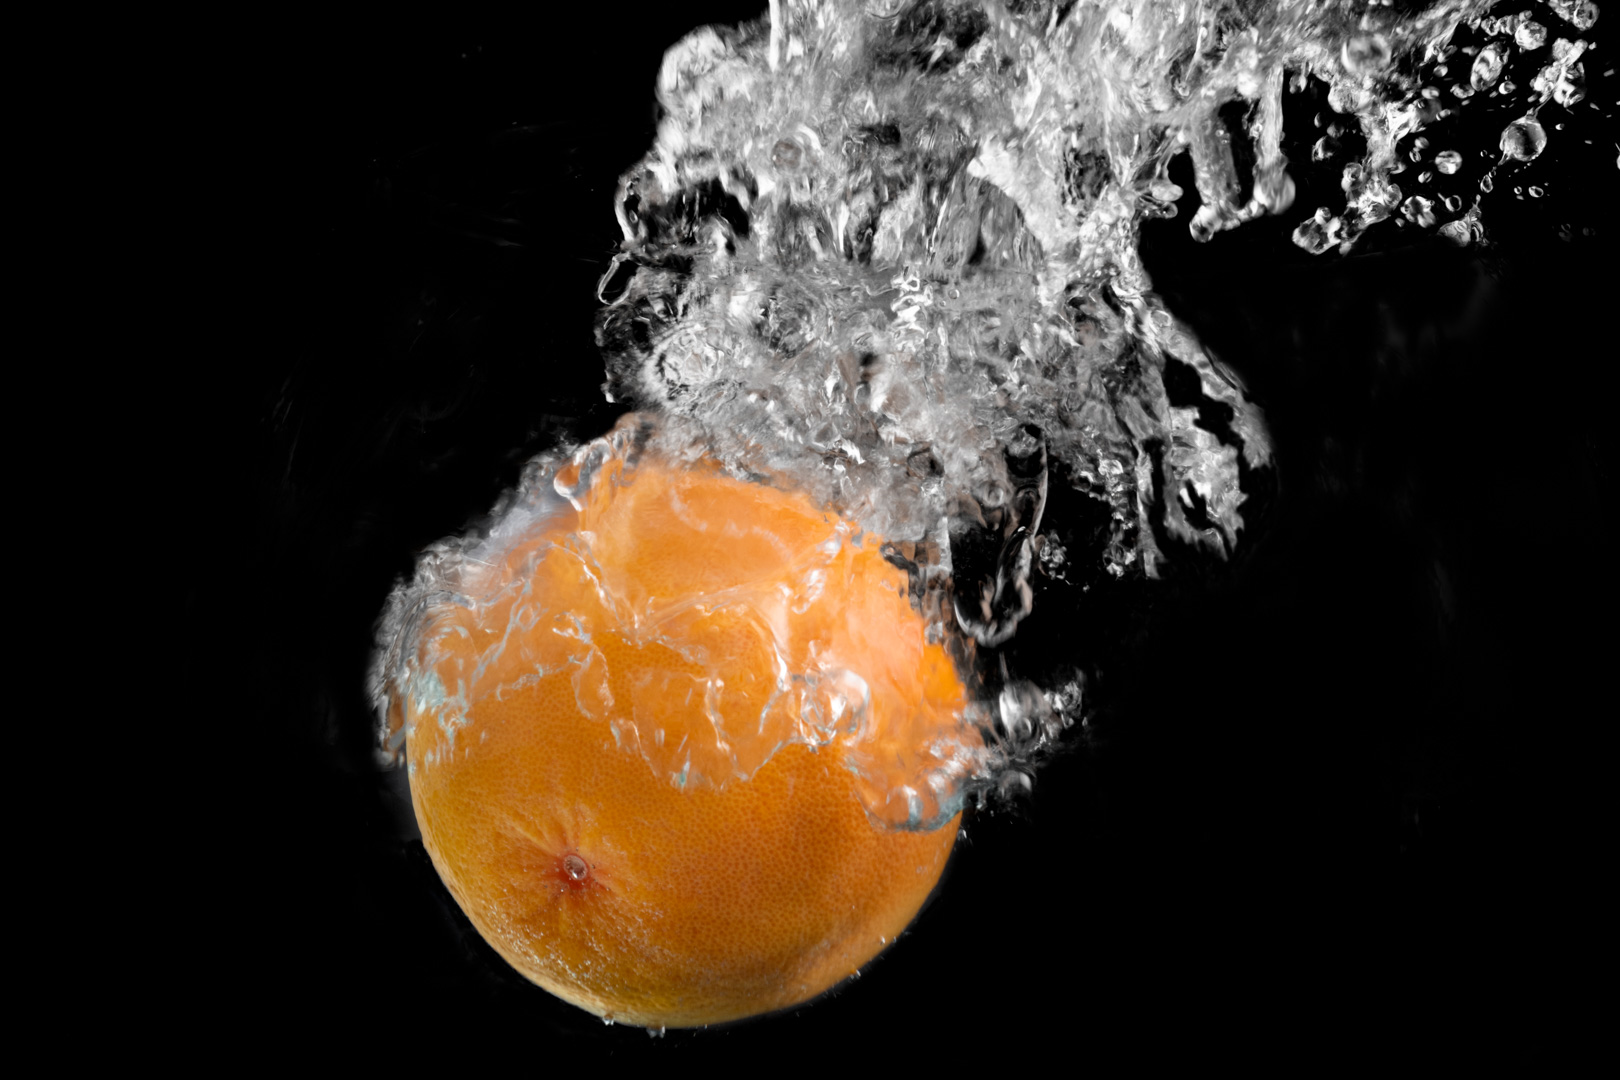
- Preferably, use a black or dark backdrop so there’s contrast and the water droplets stand out. In the image of the grapefruit, I used a black cloth underneath the aquarium and a piece of black foam behind it;
- Set your tripod and camera where you can frame the aquarium, leaving enough space up, down and on the sides to capture most of the splashes;
- Wrap your camera in plastic and protect your cables;
- Position one strobe with soft box in each side of the scene;
- Adjust the focus: place the fruit (or object) in the aquarium half filled with water. Manually focus on this point and leave it.
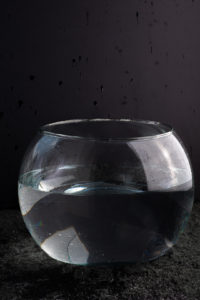
Basic setup
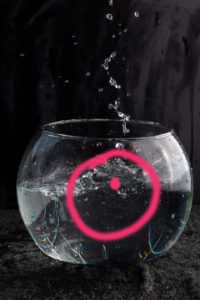
Point of focus
Now the fun part. Set the timer, fire the shutter, position yourself next to the aquarium and drop the fruit as many times as needed until you capture an unforgettable image.
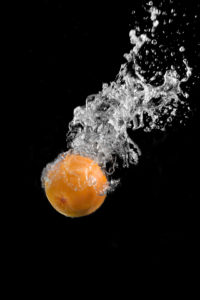
Final image
Keep pouring water and don’t forget to clean the front glass of the aquarium every now and then to get rid of the water drops.
Enjoy your photos!
3 Comments